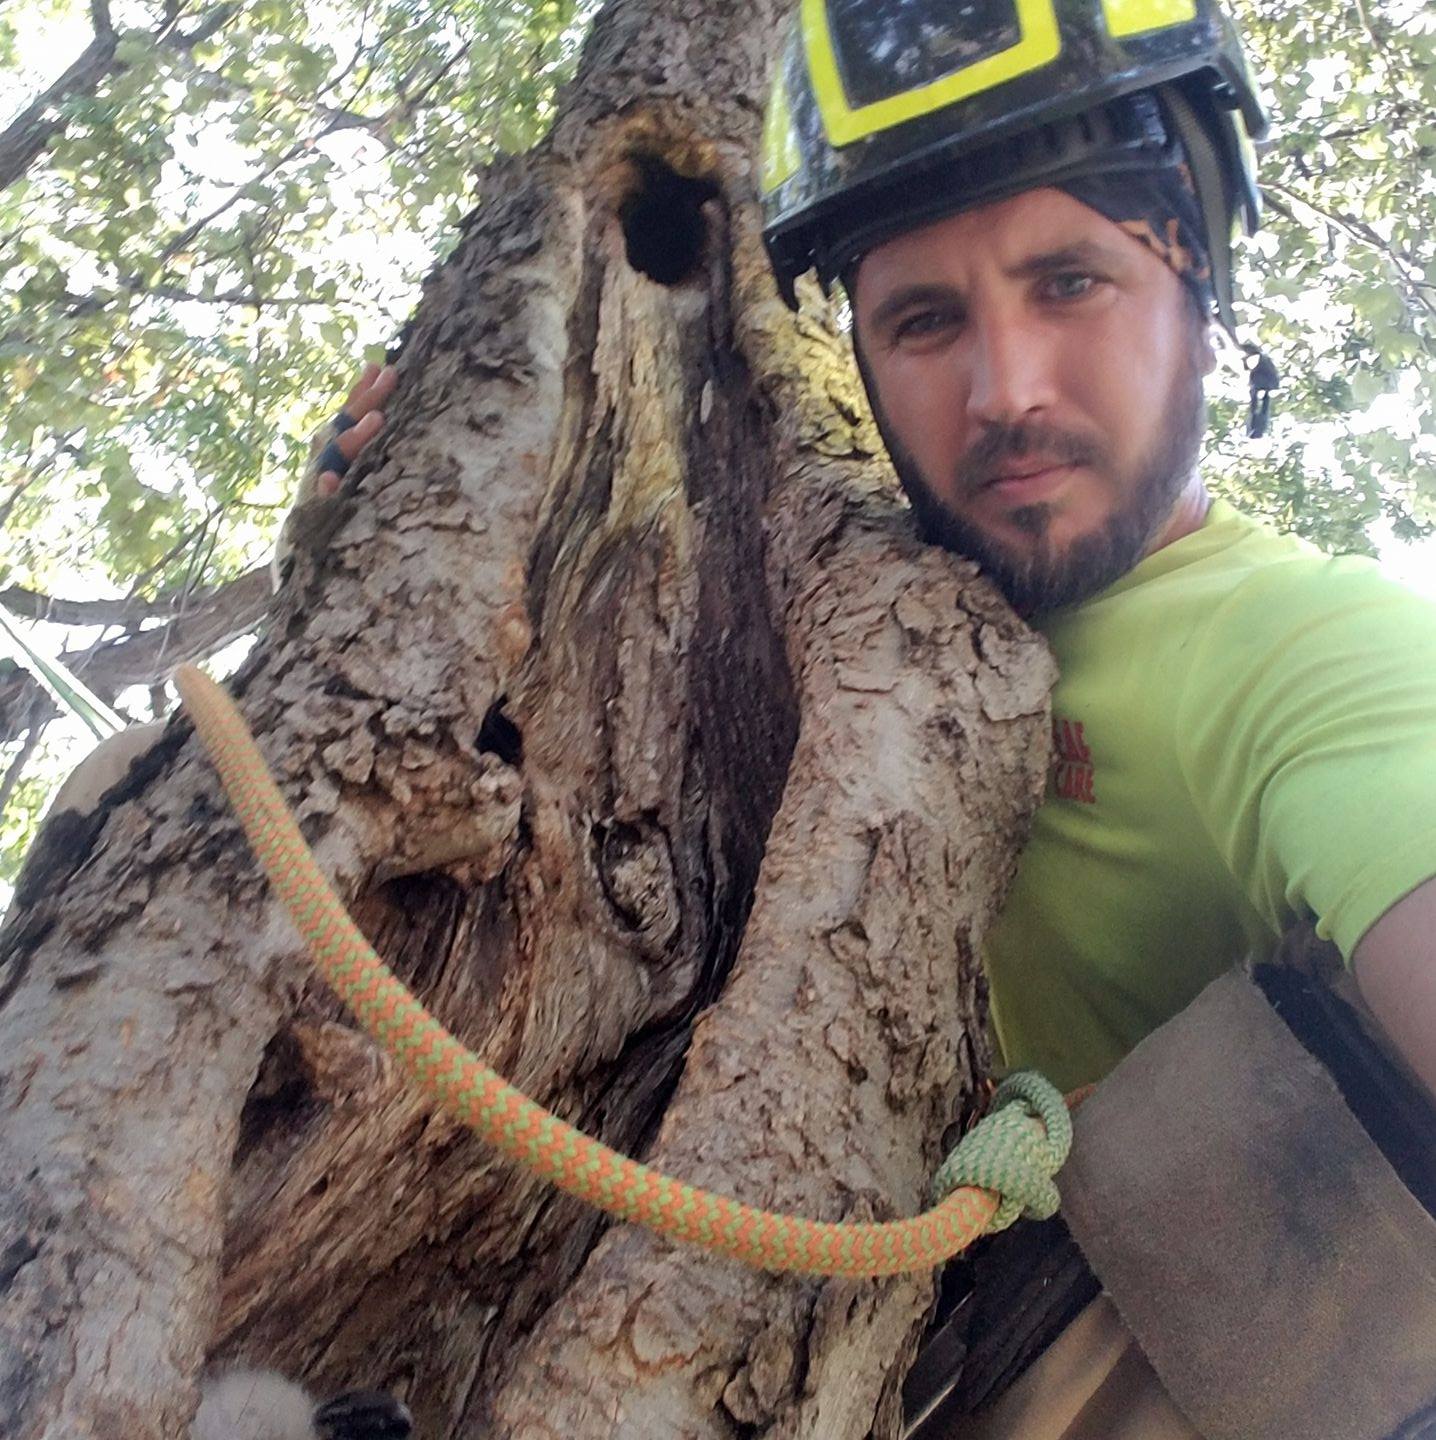
I’ve talked before about the benefits that properly cared-for trees bring to your yard, but if your property isn’t already filled with them, you’ll need to know exactly just how to plant a tree.
Most of the time you’ll want to hire a certified arborist to plant your trees for you. They have all the tools and necessary knowledge, and they’ll be able to give you care instructions specific to your situation. But if you have decided to go it alone, here’s how to do so.
When is the Best Time to Plant a Tree?
In general, the best time to plant a tree is in the fall, after the worst heat of the summer is over — think September or October.
If you’re in Texas, the mild winters will give you more time. You can wait until November or December to plant. Some people even say you can go as late as early spring. The most important thing is that the tree has time to develop a solid root system before the summer.
If you’re still deciding what variety of tree to add to your yard and are looking for a fast-growing option that’ll do well in Texas, you have a bunch of options.
Step 1: Identify Location
Make sure you’ve found a good spot for your tree based on environmental factors like soil type and position in relation to your house, power lines, and underground utilities. Your tree is going to grow quite a bit, so you’ll need to give it plenty of space.
In case you don’t know where your underground utilities are, you can call 811 or visit call811.com to have them marked for free.
Step 2: Dig a Hole
Dig a hole that’s the same depth as the root ball. The part of the tree where the trunk becomes the roots (called the root flare) should be just above the dirt. Getting the right depth is crucial for a sapling. Tree roots do best when they have enough oxygen and warmth from the sun.
The hole might look too shallow. Trust us — it’s not. A hole that’s too deep will prevent your growing tree from getting enough oxygen.
Make sure that the hole is 2 or 3 times wider than the root ball. The roots need room to expand outwards.
Step 3: Loosen Roots
Your tree might come in a container or wrapped in burlap. Either way, you’re going to want to remove whatever it’s in and loosen the soil around the root ball to make growth easier for the roots.
Pay Close Attention to Root Flare
As I mentioned, the root flare is the point when the roots transition to the trunk — basically the tree’s highest roots. I’ll say it again because it’s important: the root flare needs to above the dirt so it can get oxygen. Planting too deep is one of the most common ways to prevent a tree from living for a long time.
Step 4: Position the Tree
Make sure the tree is standing straight in the hole. It can be helpful to have another person on hand, just to be positive.
Fill the soil you removed from the area, and avoid packing it down too firmly.
Step 5: Water
Water thoroughly that first time to remove any air pockets around the roots that will prevent growth.
After it’s planted, water at least once a week, making sure to never let the soil dry out. Watering level will depend on the kind of tree you’re planting, but no matter the variety, the difference between overwatering and not watering enough is small. If leaves turn brown, that’s a sign that the tree needs more water.
Note that it’s common for a tree to lose half its leaves after being transplanted. More than that could be a sign of a watering issue.
Step 6: Add Mulch
Spread a 2- to 4-inch layer of mulch around the base of the tree. Mulch reduces competition from grasses and weeds, maintains a good soil temperature, and holds in moisture. However, make sure that the mulch isn’t in contact with the trunk itself. I try to leave a 1- or 2-inch buffer zone between the mulch and the base of the tree. Otherwise, the soil may become too moist and lead to decay.
Step 7: Keep a Close Eye on Your Tree
Trees are tricky. But if you know how to plant a tree, and pay attention as it grows into adulthood, you should be able to give it a long, healthy life.
Good luck!

